Installation
Get your Kerberos Open Source agents up and running in just a couple of minutes.
Kerberos Open Source is deprecated, please use Kerberos Agent instead.
Kerberos Open Source comes with different installation flavours. So you might think, why? The reason is simple, depending on the use case one option is better than another. A short list of recommendations:
Plug and play
- KiOS: You have a Raspberry Pi, and you only want to run a Kerberos agent on it.
- Docker: You have a lot of IP cameras, and/or don’t want to mess with dependencies.
- Balena: Runnning the Kerberos Docker container on top of Balena.
Advanced
- Raspbian: You have a Raspberry Pi, but you want other services running next to the Kerberos agent.
- Generic: You want to develop/extend Kerberos with your own features, or you want to run a Kerberos agent on a not supported OS/architecure.
Plug and play
Following installation methods aim for the simplicity of installing Kerberos Open Source. With almost no efforts you can have Kerberos Open Source running.
KiOS
KiOS (Kerberos Operating System) is our custom linux OS, which runs the Kerberos agent out-of-the-box (read plug-and-play). It’s an OS designed for the Raspberry Pi (all version are supported), which you can flash to an SD card.
It can be installed using our own installer, which comes with a nice interface that handles the flashing and network configuration for you, or you can handle the flashing yourself by using Etcher.
Github
KiOS is compiled using Buildroot, the project can be found on following Github repo.
Kerberos Open Source installer
Installing the Kerberos agent to your Raspberry Pi, has never been so easy. By using our cross-platform installer, you can run a fully configured video surveillance system within 3 minutes. Indeed, we also think that’s awesome!
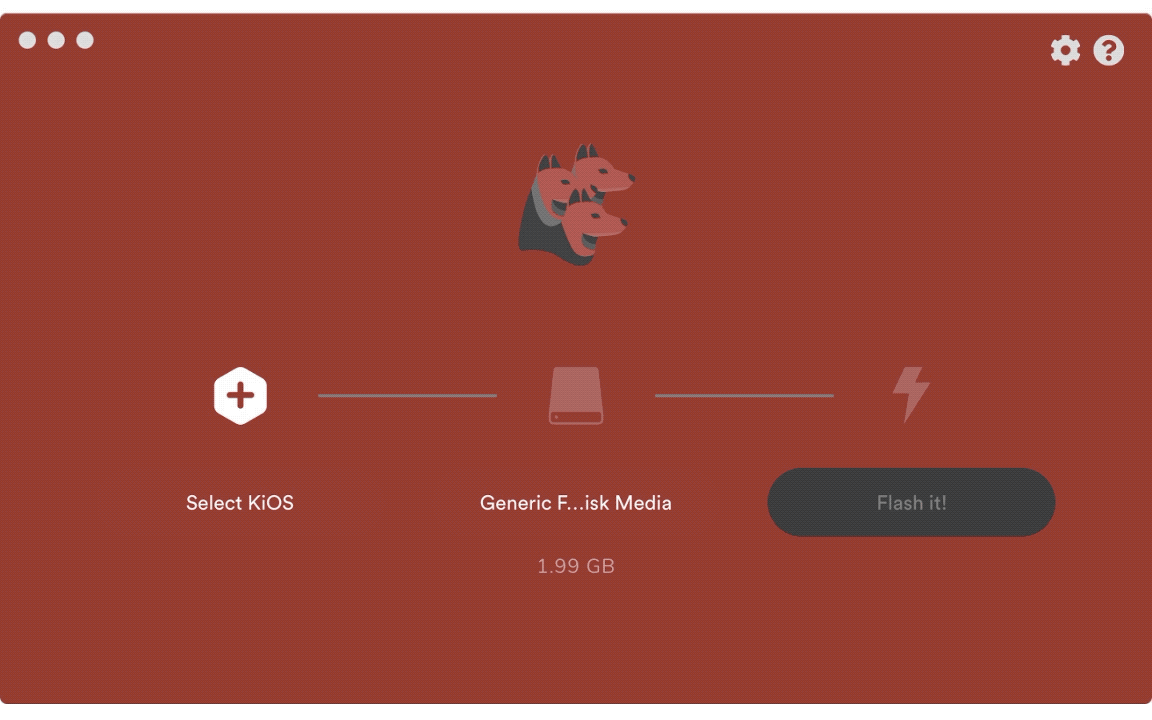
Using the KiOS installer, you can easily deploy the Kerberos Opensource agent to your Raspberry Pi.
Download the correct installer for your OS below:
https://github.com/kerberos-io/etcher/releases
Etcher
If you love Etcher, or the Kerberos installer is not working as expected, you can also flash the Kerberos agent to your SD card manually. It goes as following:
- Download the KiOS image,
- flash it to your SD card with Etcher,
- and edit some configuration files at the boot directory.
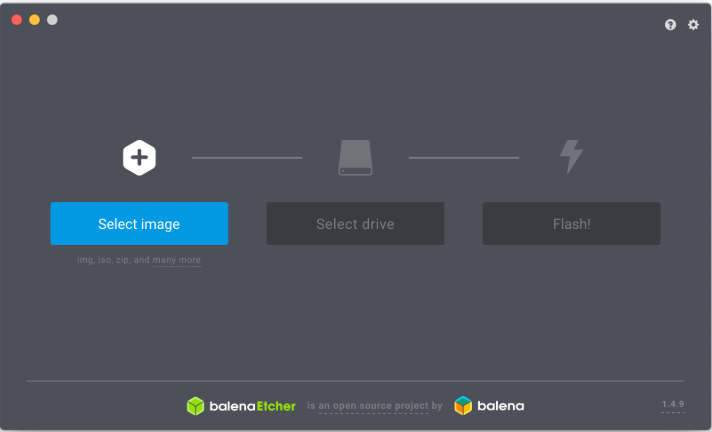
You could also install using the Etcher installer.
Once you have download the KiOS image (make sure you downloaded the right image) and flashed it to an SD card, put it back into your working station. Navigate to the SD card and creating following files.
Connecting to WiFi
If you want to connect your Raspberry Pi to a WiFi connection, you will need to create a file wireless.conf on your SD card, with following contents. Change the SSID and password properties to your own WiFi credentials.
update_config=1
ctrl_interface=/var/run/wpa_supplicant
network={
  scan_ssid=1
  ssid=""
  psk=""
}
Setup a static IP-address
If you want to assign a static ip-address to your Raspberry Pi, create a file static_ip.conf on your SD card, with following contents:
#####################################################################
# Enter the IP-address you want to have, followed by the subnet mask
# e.g. 192.168.0.10/24
static_ip=""
#####################################################################
# Enter the Gateway and DNS, this will be your router in most cases
# e.g. 192.168.0.1
static_gw=""
static_dns=""
Power on the Raspberry Pi
Once you’ve finished the installation using either the KiOS installer or Etcher, you can put the SD card into your Raspberry Pi and turn it on. Please note that the first time you boot KiOS it can take about 2 mins before the system is operational. When KiOS is ready you can open your favorite browser and type in the IP address of your Raspberry Pi. This will open the Kerberos agent’s front-end, which you can access with the username: root and password: root.
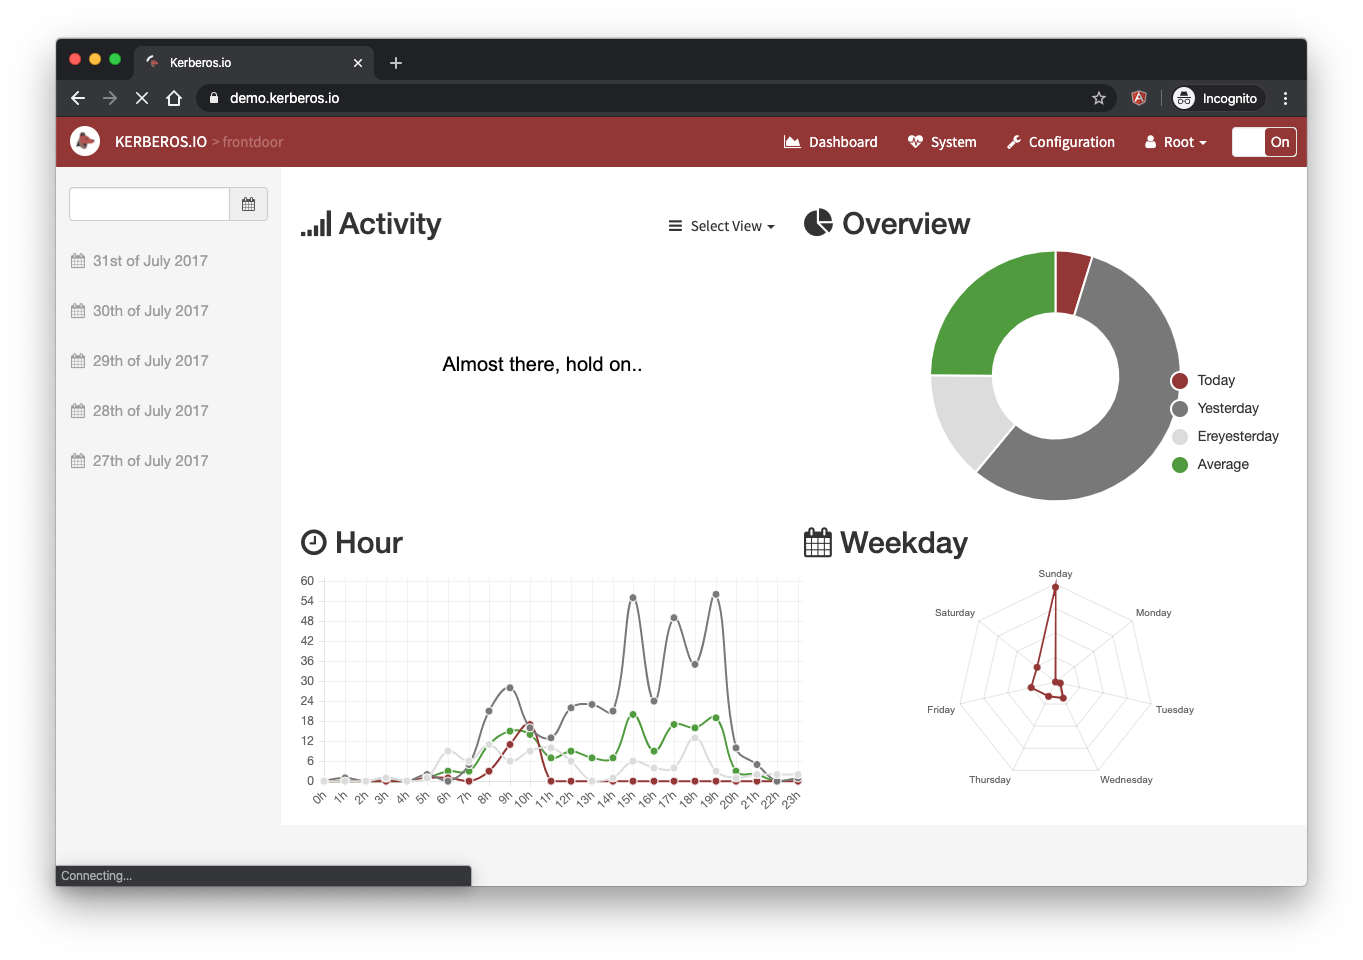
After successful installation you should land on the starting page.
Access the Raspberry Pi
You can access the KiOS system with attaching your Raspberry Pi to a HDMI monitor or by using ssh.
$ ssh root@192.168.0.12
Welcome to kios-79e30bbb!
[root@kios-79e30bbb ~]#
Note that by default no root password is set, you can define a password in the /data/etc/kios.conf file. Once you added a password, make sure to reboot the OS.
[root@kios-79e30bbb ~]# nano /data/etc/kios.conf
[root@kios-79e30bbb ~]# reboot
Docker
A Docker image (amd64, armv7, arm64) is available on the Docker hub, which contains all the necessary software to setup the Kerberos agent in a matter of seconds. Before you can run this image, make sure you have Docker installed. Afterwards you can use Docker, to get the Kerberos agent up and running. All Docker images can be found on the Docker hub.
This installation guide assumes you already have a good understanding of Docker. If you want to learn more about Kerberos.io on Docker, have a look at these tutorials.
Prerequisites
Docker or Docker Desktop (Linux, OS or Windows)
Github
All technical information, such as Dockerfile, can be found on following Github repo.
Download docker image
Before you are able to run the Kerberos agent inside a container, you will need to pull the docker image from the Docker hub.
docker pull kerberos/kerberos
When you pulled succesfully you can run your first Kerberos container as following. This will run Kerberos agent and expose the web interface on port 80, and the livestream on port 8889.
docker run --name camera1 -p 80:80 -p 8889:8889 -d kerberos/kerberos
To add more containers, you can change the name parameter and assign another port to expose the web interface and livestream (ports are unique on a OS).
docker run --name camera2 -p 81:80 -p 8890:8889 -d kerberos/kerberos
docker run --name camera3 -p 82:80 -p 8891:8889 -d kerberos/kerberos
When the containers are created, you can open your browser and browse to your different containers.
http://localhost:80
http://localhost:81
http://localhost:82
Volumes
Instead of just running the Kerberos container, you can also persist your configuration by assigning volumes. An example of mounting volumes looks like this; an overview of the different volumes can be found here.
- preload configuration,
- or centralise the images/videos on your working station.
docker run --name kerberos-camera1 \
-p 80:80 -p 8889:8889 \
-v ~/config:/etc/opt/kerberosio/config \
-v ~/capture:/etc/opt/kerberosio/capture \
-v ~/logs:/etc/opt/kerberosio/logs \
-v ~/webconfig:/var/www/web/config \
-d kerberos/kerberos
Balena
Running Kerberos inside a Docker container is great, it makes it possible to run Kerberos everywhere; basically on any OS. You can deploy Kerberos easily to the many different IoT boards we nowadays have available. The challenge with all these IoT boards is that they have different system architecures, however thanks to Docker (and its multi architecture builds), we can ship Kerberos to any of them. If you have a Raspberry Pi, you have two options: Docker and KiOS. If you have any other board, then Docker is the way to go.
Once you’ve deployed the Kerberos Docker container, you can start monitoring your video surveillances cameras, however it doesn’t have to stop here. Probably you also want remote access to your IoT board, and maybe some other cool stuff like system control, a VPN, a public url? This is where Balena.io comes in.
Before getting into the details, you can find a more detailed tutorial at this blog.
1. Create a Balena account
Before moving on, make sure you have registered on Balena.

Creating a Balena Cloud account to onboard your Kerberos Opensource agent.
2. Create a device and flash
After you signed up, you can create an application for a specific IoT board (e.g. Raspberry Pi 3). Once created you will be able to download the balena OS image, which you can flash to your SD card using Etcher.
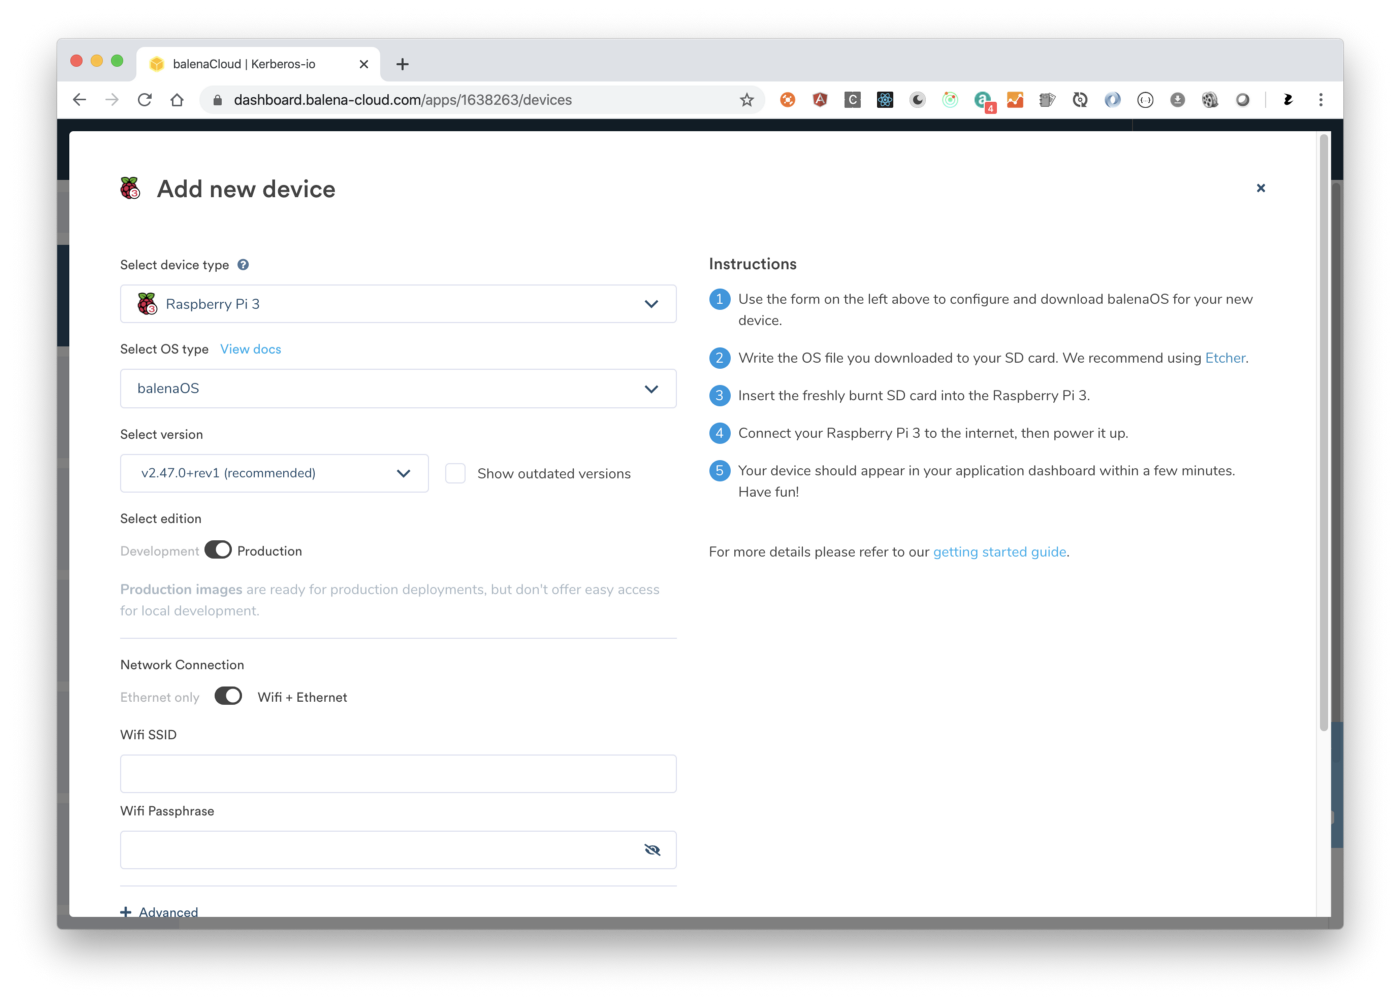
After signed up, create an application for your Kerberos Opensource agent.
3. Connect
Once you’ve flashed the balena OS, turned on your IoT board, a new device should come up on the Balena dashboard (below the application you’ve created). At this point you will be able to connect to your device using the balena-cli read more about the installation here.
First connect the balena-cli to your account by executing following command. Choose the recommended option.
balena login
After succesfully logged in you should be able to list your devices.
balena devices
4. Write
Finally, we can push our Kerberos Docker container to our application (and devices). To do this we need to create two files.
- Create a new directory and the Dockerfile.
The first file is named Dockerfile this file will contain a base image which references to our Kerberos image, which you can find here.
mkdir kerberosbalena
cd kerberosbalena
echo 'FROM kerberos/kerberos@sha256:70a8b2791c8605ca6f8442b3d7892bb9bfc0789ab2f9f68911e247f7af50caed
CMD ["bash", "/run.sh"]' > Dockerfile
Please note that we specified a sha256 tag, you have to make sure you use the right sha256 tag for your architecure. In the example above we use the sha256 tag for a armv7 architecture (Raspberry Pi3).
- Create a Docker compose file.
The Docker compose file is optional, but can be very useful. It can be used to deploy multi container application (e.g. a webserver + database). As Kerberos has everything in one single container, this is not needed.
We will use the `docker-compose.yml to mount volumes, so that when we restart our container all our configurations and recordings stay persisted.
Create a new file named docker-compose.yml, and copy-paste following content.
version: '2.1'
networks: {}
volumes:
  config: {}
  capture: {}
  logs: {}
  web: {}
services:
  main:
    build:
      context: .
    privileged: true
    tty: true
    restart: always
    network_mode: host
    volumes:
      - 'config:/etc/opt/kerberosio/config'
      - 'capture:/etc/opt/kerberosio/capture'
      - 'logs:/etc/opt/kerberosio/logs'
      - 'web:/var/www/web/config'
    labels:
      io.balena.features.kernel-modules: '1'
      io.balena.features.firmware: '1'
      io.balena.features.dbus: '1'
      io.balena.features.supervisor-api: '1'
      io.balena.features.resin-api: '1'
      io.balena.features.balena-socket: '1'
5. Push
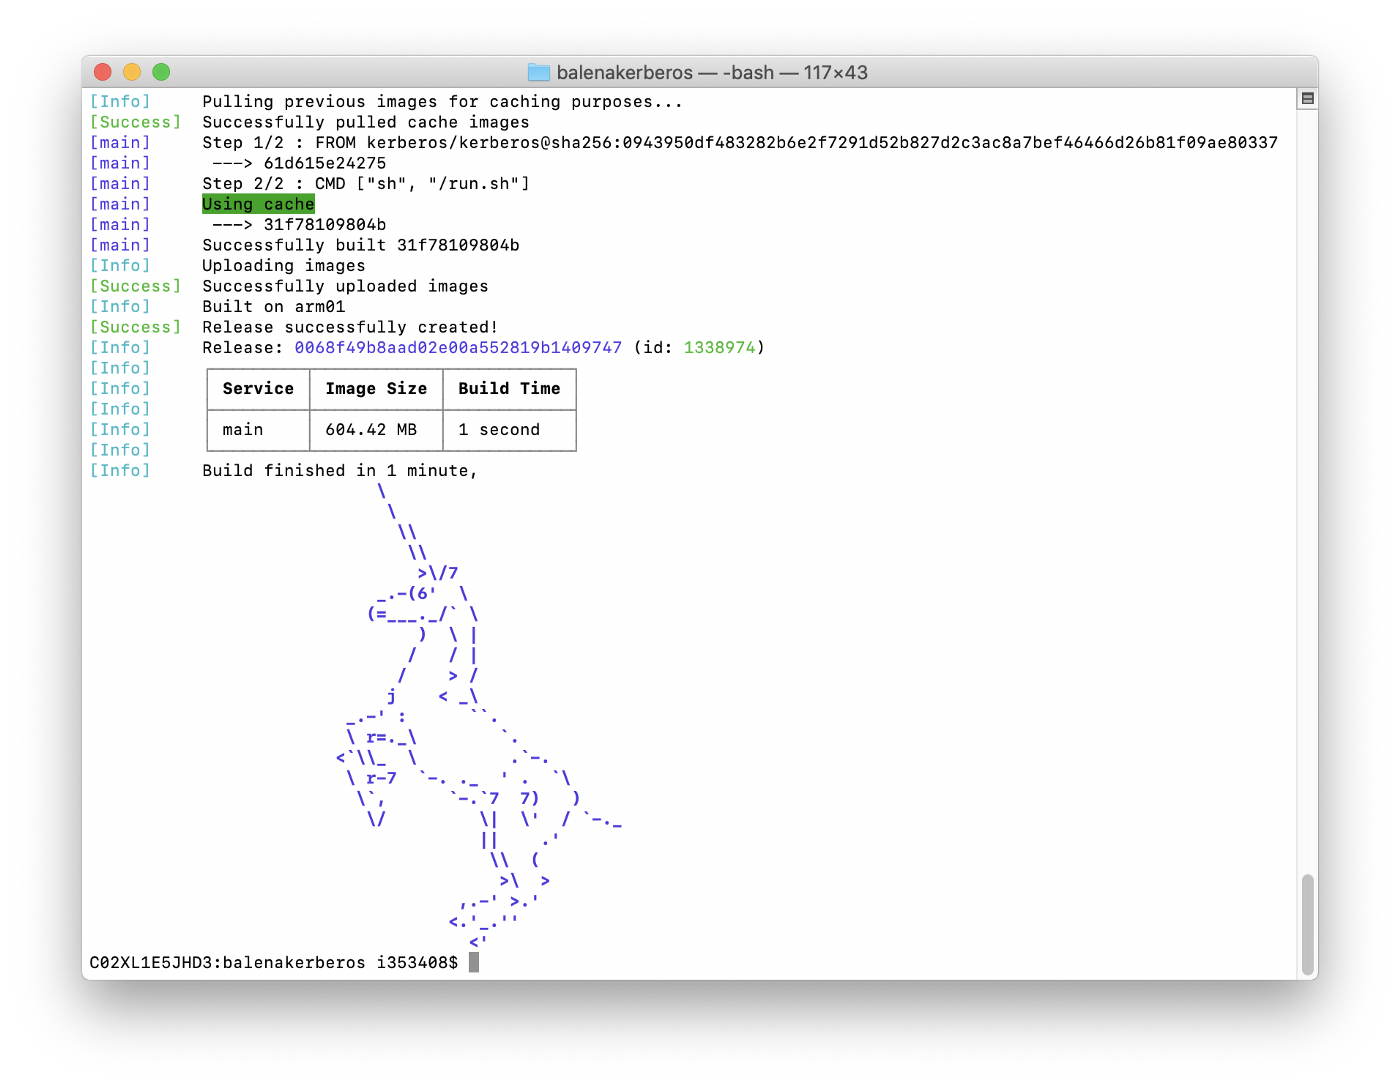
Now we created our two files, we can publish the Kerberos container to balena (our application), by executing the push command (replace <application_name> by the name of your application).
balena push <application_name>
Once finished you should see following message, and on the dashboard you should see your devices updating (Yes you can add multiple devices to an application). You’re ready ;)
Once created you can push the Kerberos Opensource agent to your Balenca Cloud app.